In this video, I will show you how I record my screen and the software which I use.
If you are an affiliate marketer then it is essential that you are able to record your screen.
And the tool which I use and recommend is called ‘Screencast-o-Matic‘. This tool is dead cheap around $20 a year and has all the editing tools which you will need.
To get Screencast-o-Matic just Google it or simply click the link here >>>Screencast-o-Matic<<<
If you are looking for a low-cost, beginner-friendly way to create high-quality videos, then
The free screen recorder from Screencast-O-Matic makes it simple to record your webcam, screen, or both.
Following this step-by-step guide, you’ll be able to create perfectly polished videos in no time.
Create how-to videos, tutorials, e-learning videos, product walkthroughs, and more with the screen recorder.
Start With the Free Screen Recorder
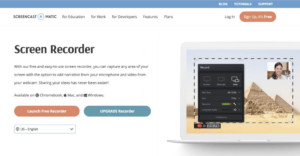
Select the device to be used for recording. Screencast-O-Matic is available on a variety of platforms, including Windows PC, Mac, and Chromebook.
The desktop screen recorder can be accessed as follows:
- Click “Launch Screen Recorder” from this page.
- A pop-up will appear to indicate that the recorder is being launched. Download the recorder app if it does not appear.
- On your screen, the Screen Recorder will appear. You can now begin recording.
For Chrome users, here’s a tip:
Launch the screen recorder with the Chrome browser extension to gain quick access to our video creation tools.
Recorder Controls
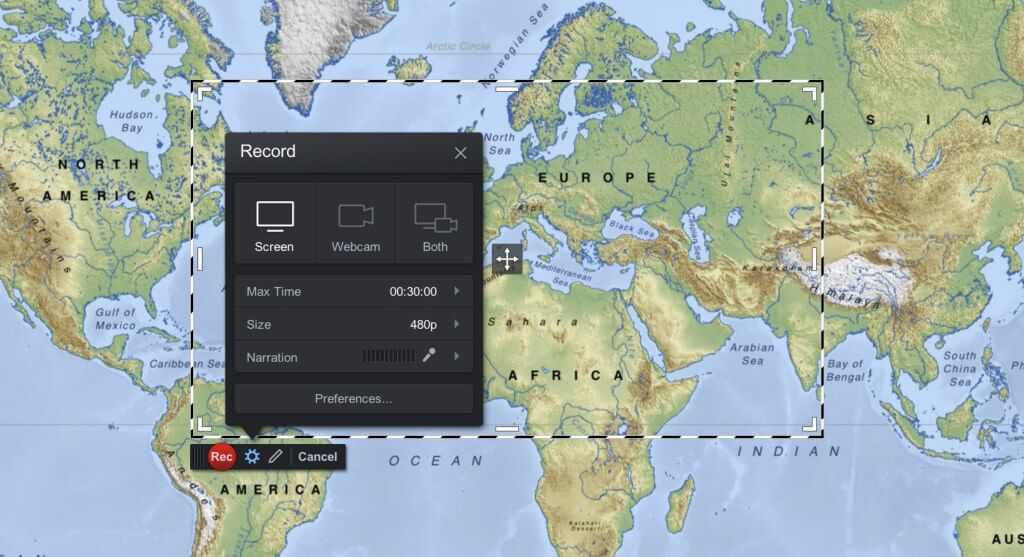
You’ll notice a variety of customization options within the recorder to tailor your video to your needs.
- Screen – This allows you to record everything on your screen that is within the recording frame.
- Webcam – Use your webcam to record yourself. Before you begin recording, you should perform a camera test. Check to see if you have any other webcam sources that might be more suitable for your recording.
- Both – Display both your webcam and your screen at the same time. Your webcam will appear as a tile in the corner of your recording window, which you can move around as needed. This option gives videos a more personal touch and allows you to gesture to information on your screen while presenting.
- Max Time – For free, you can record up to 15 minutes per video, or upgrade to a Deluxe or Premier account for unlimited recording time. Both the free and paid versions of the screen recorder allow you to record an unlimited number of videos.
- Size – Select a preset recording window size of 480p, 720p, Active Window, or Full Screen for easy resizing. Click and drag the frame’s corners and sides to create a custom size.
- Audio Narration – Add voice narration from the microphone of your choice. Audio sources connected to your computer can also be recorded by the screen recorder. Before you begin audio recording, you may want to mic test (microphone test).
- Computer Audio – The free recorder only records narration. To record computer audio, upgrade to our Deluxe or Premier plan.
Trim, Upload, and Publish Options
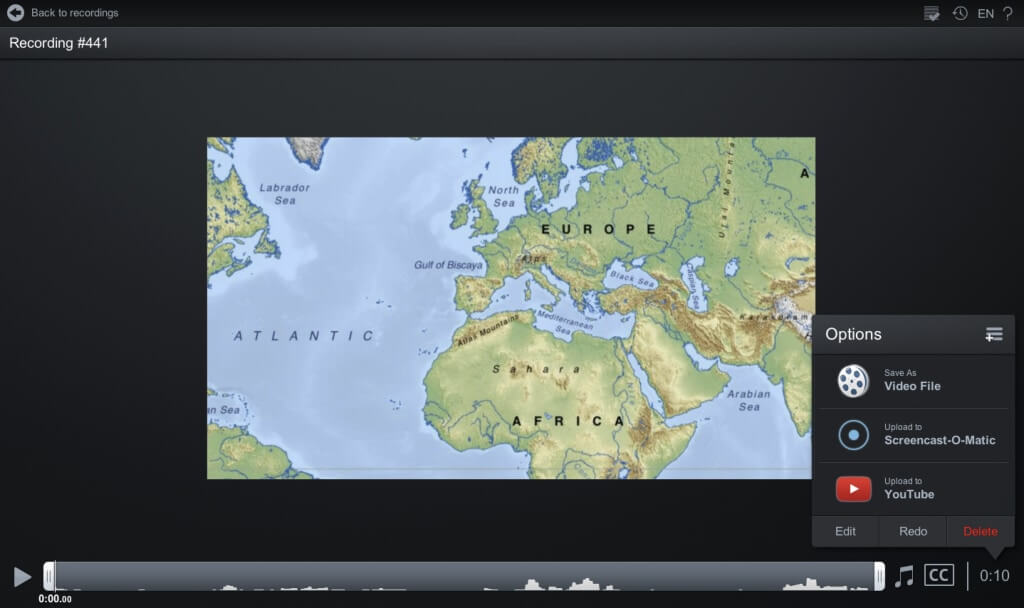
When you finish recording, you can save and share your video, or you can add some finishing touches to it.
- Trim – By clicking and dragging the timeline, you can remove awkward moments from the beginning and end of your video.
- Captions – For accessibility, you can also include captions. Click “CC,” then browse to and upload your captions file. You can also use speech-to-text to auto-generate captions or type them manually in the Interactive Captions Editor if you have a Deluxe or Premier account.
There are several simple methods for uploading and publishing your video. Choose the one that best fits your needs.
- Save the video as a file – Save the file as an mp4 (recommended), AVI, or FLV. Then, on your device, select a destination folder. Give your video a name so you can find it later, and then press the “publish” button.
- Upload your video to Screencast-O-Matic – You can upload your video directly to your Screencast-O-Matic hosting account.
- Share on YouTube – Uploading your video to YouTube is a simple and quick process. Click “launch web browser” and proceed as directed. Fill in the blanks, and your video will be uploaded directly to your YouTube account or channel.
- Share on Google Drive – You can easily share your videos and recordings on Google Drive.
- Upgrade to gain access to more uploading options. You can publish to other sites, such as Vimeo and Dropbox, by clicking the ‘+’ button at the top of your menu.
If you have any questions then leave a comment down below or on my Youtube Channel
A quick note about the reviews on this site: I am an affiliate for every product I review. However all my reviews are done as honestly as possible and I make no promises to the vendor prior to writing my review. Should you click a link on this site that takes you to a paid product this link will be an affiliate link and I will be paid a percentage of the sales price should you decide to purchase that product.
I have checked your website and i’ve found some
duplicate content, that’s why you don’t rank high in google, but
there is a tool that can help you to create 100% unique articles, search for; Boorfe’s tips
unlimited content
Major thankies for the article.Thanks Again. Awesome.